Chapter 3
Your first show: stage, media and timeline
Build the stage, import media the show-safe way, put it on the timeline and press play.
The fastest way to learn is to open the Demo stage from the welcome screen and change it. This chapter builds the same pieces from scratch.
1. Save the show first
A PixelWright show is a folder: MyShow/MyShow.bp plus media/, objects/, logs/ and backups/. Press Ctrl+S (File → Save) and pick a name: the studio creates the folder for you. Importing media copies it into that folder, so the studio asks you to save first if the show has no folder yet.
Because all paths are relative to the folder, you can copy the whole folder to another server or a backup drive and open it as it is.
2. Build the stage
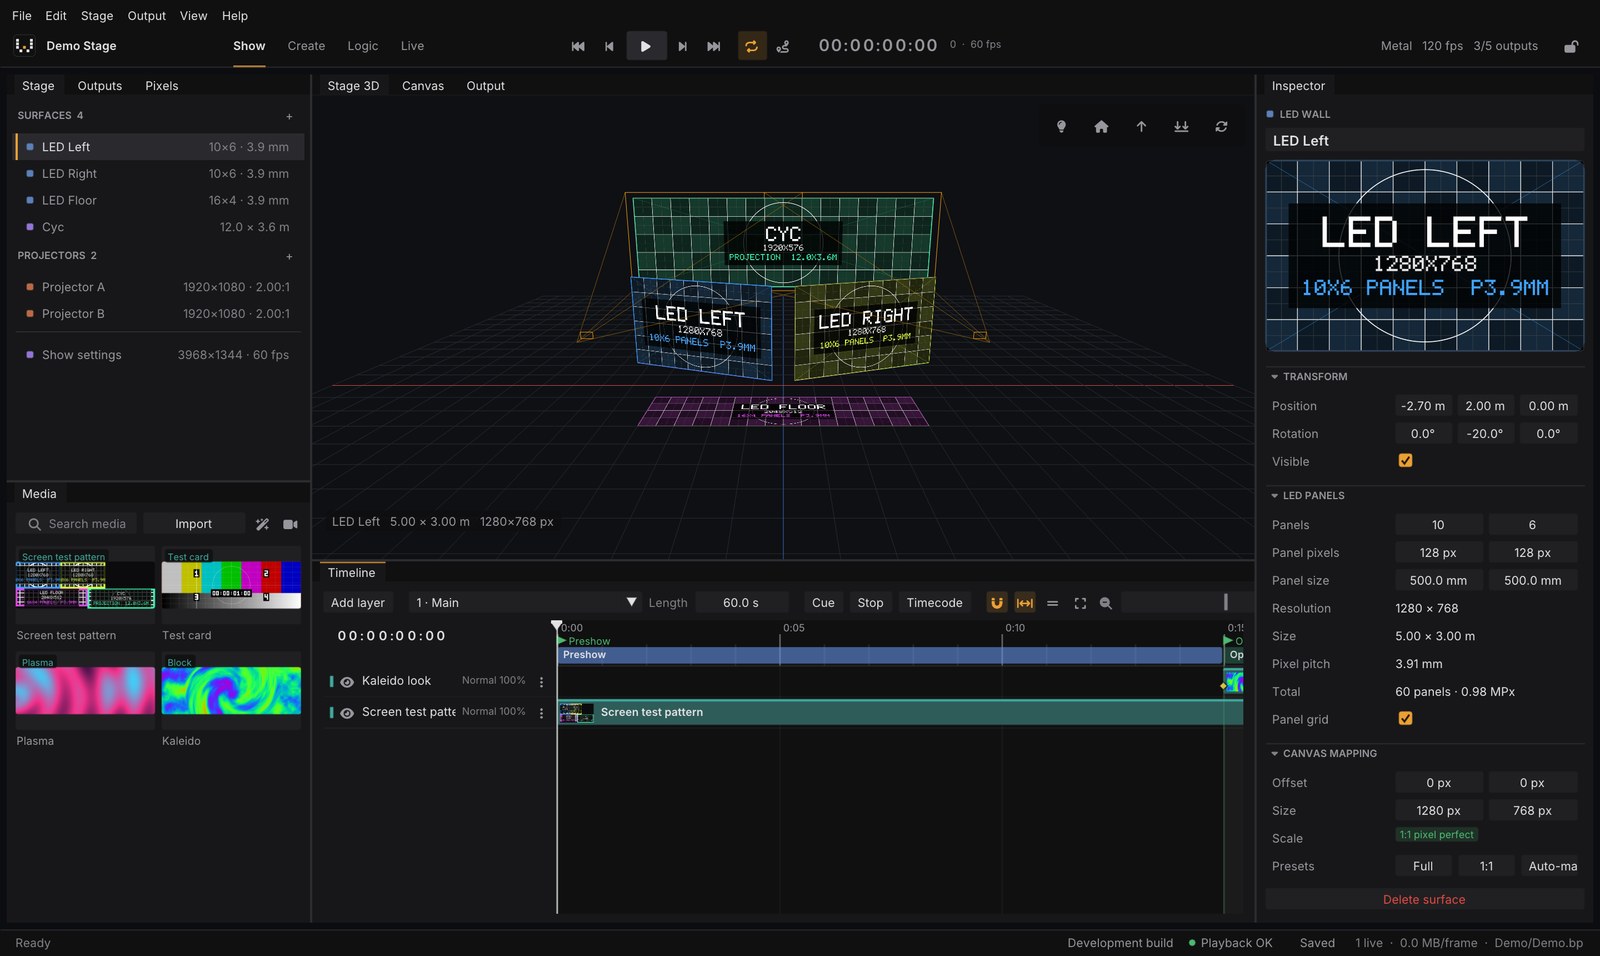
The Stage panel lists the surfaces and projectors. Use the + next to each list, the Stage menu or the command palette.
LED walls
Stage → Add LED wall… opens the New LED wall dialog. Build the wall from its cabinets:
- Pick a Panel model (common 500 × 500 mm, 500 × 1000 mm and 16:9 cabinets) or type the Panel pixels and Panel size.
- Set how many Panels across and down.
- The Resolution, the physical Size and the Pixel pitch are calculated for you.
- Leave Map to canvas on and click Create wall.
Projection screens and projectors
- Stage → Add projection screen adds a flat screen; set its size and position in the Inspector.
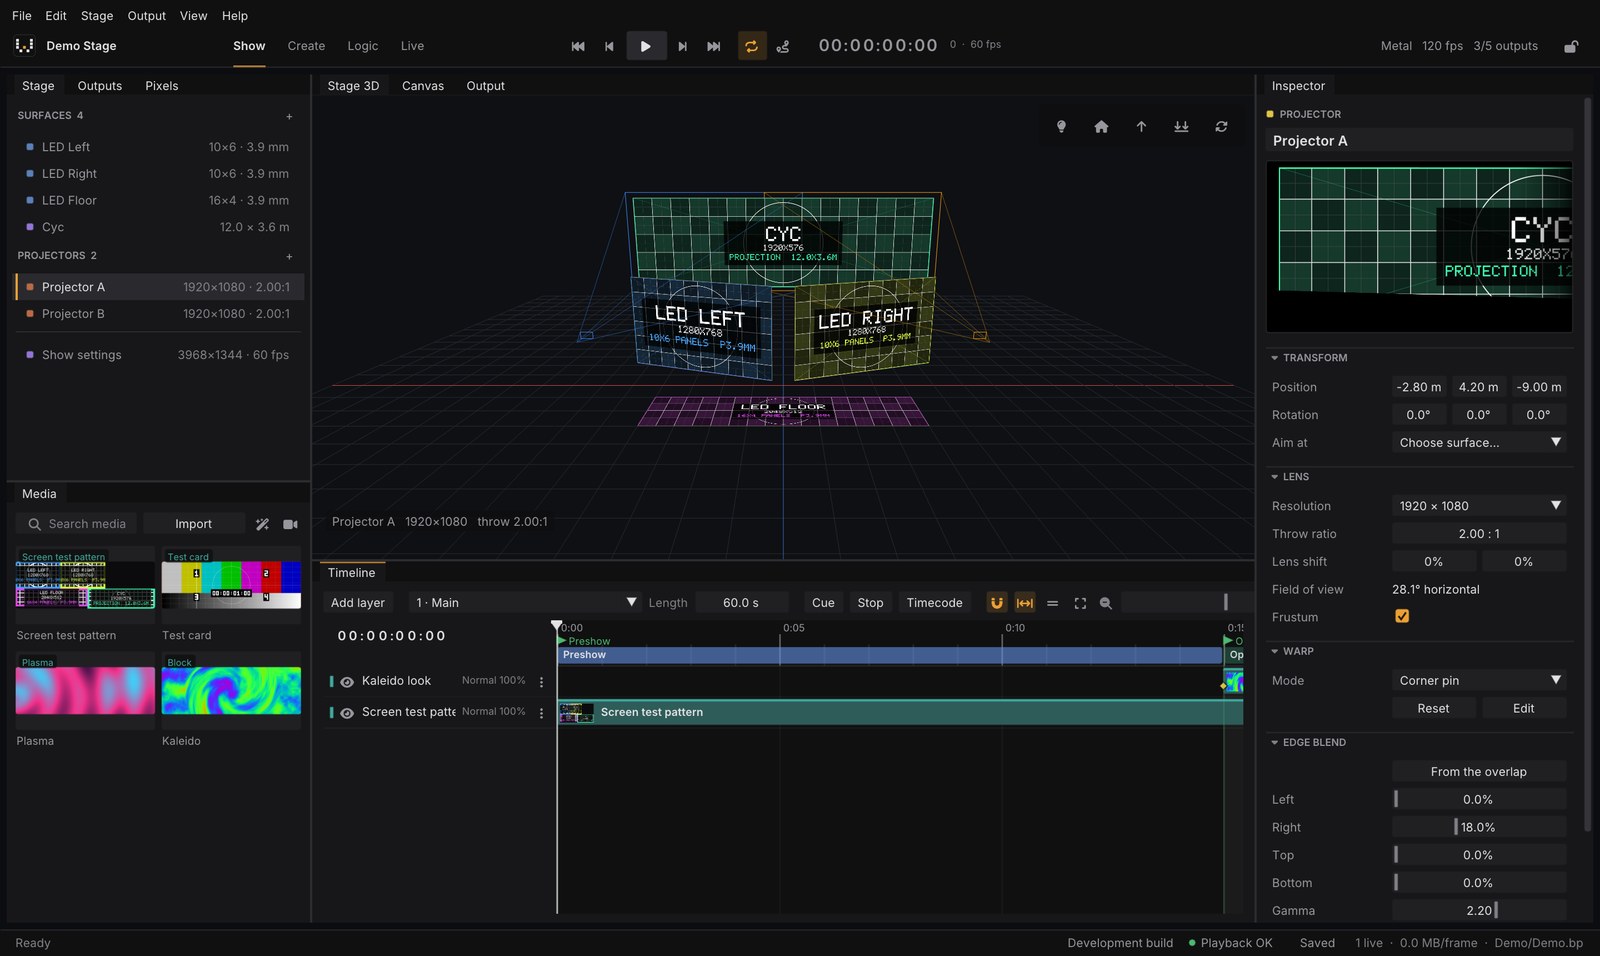
- Stage → Add projector adds a projector. In the Inspector set its Resolution, Throw ratio and Lens shift, and use Aim at to point it at a surface. Its frustum is drawn in the Stage 3D view.
3D models
File → Import 3D model (OBJ, glTF)… brings in OBJ, glTF and GLB models (venues, set pieces). They become surfaces like any other.
3. Map the canvas
The canvas is the 2D picture that feeds every surface. Each surface takes a region of it. Auto-map surfaces (in the Show settings, or Stage → Auto-map canvas) lays them out pixel-perfect, without overlaps.
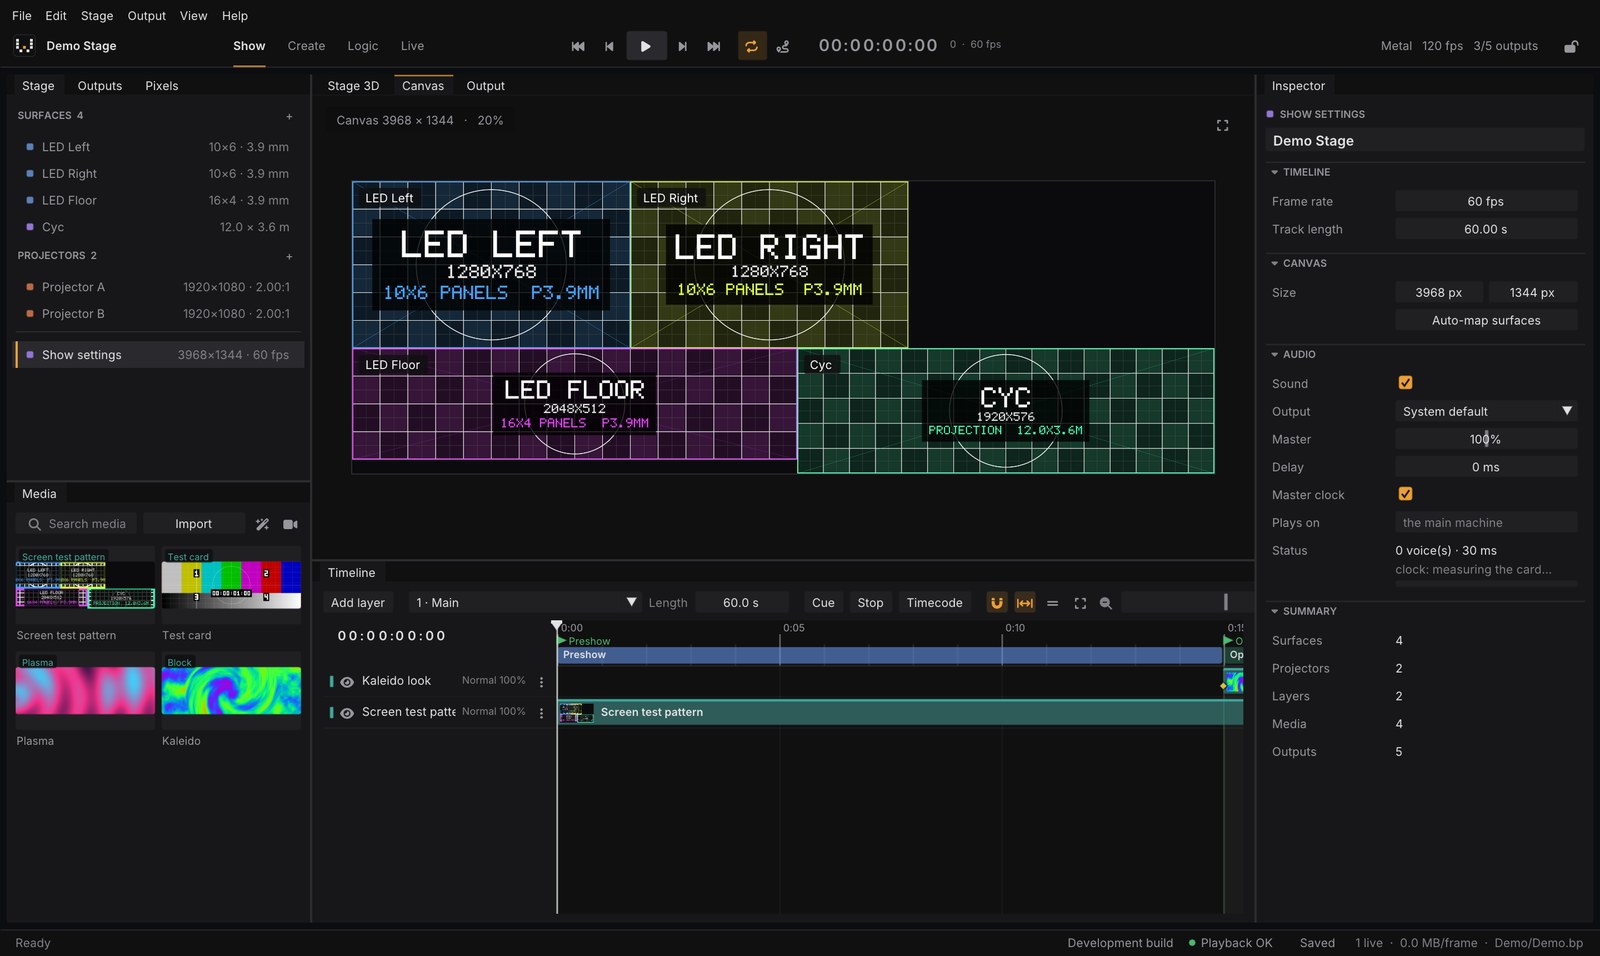
In the Canvas view you can drag the screen regions, with snapping to pixels and edges, and move, scale (Shift keeps the aspect) and rotate (Shift snaps to 15°) the selected layer.
4. Import media
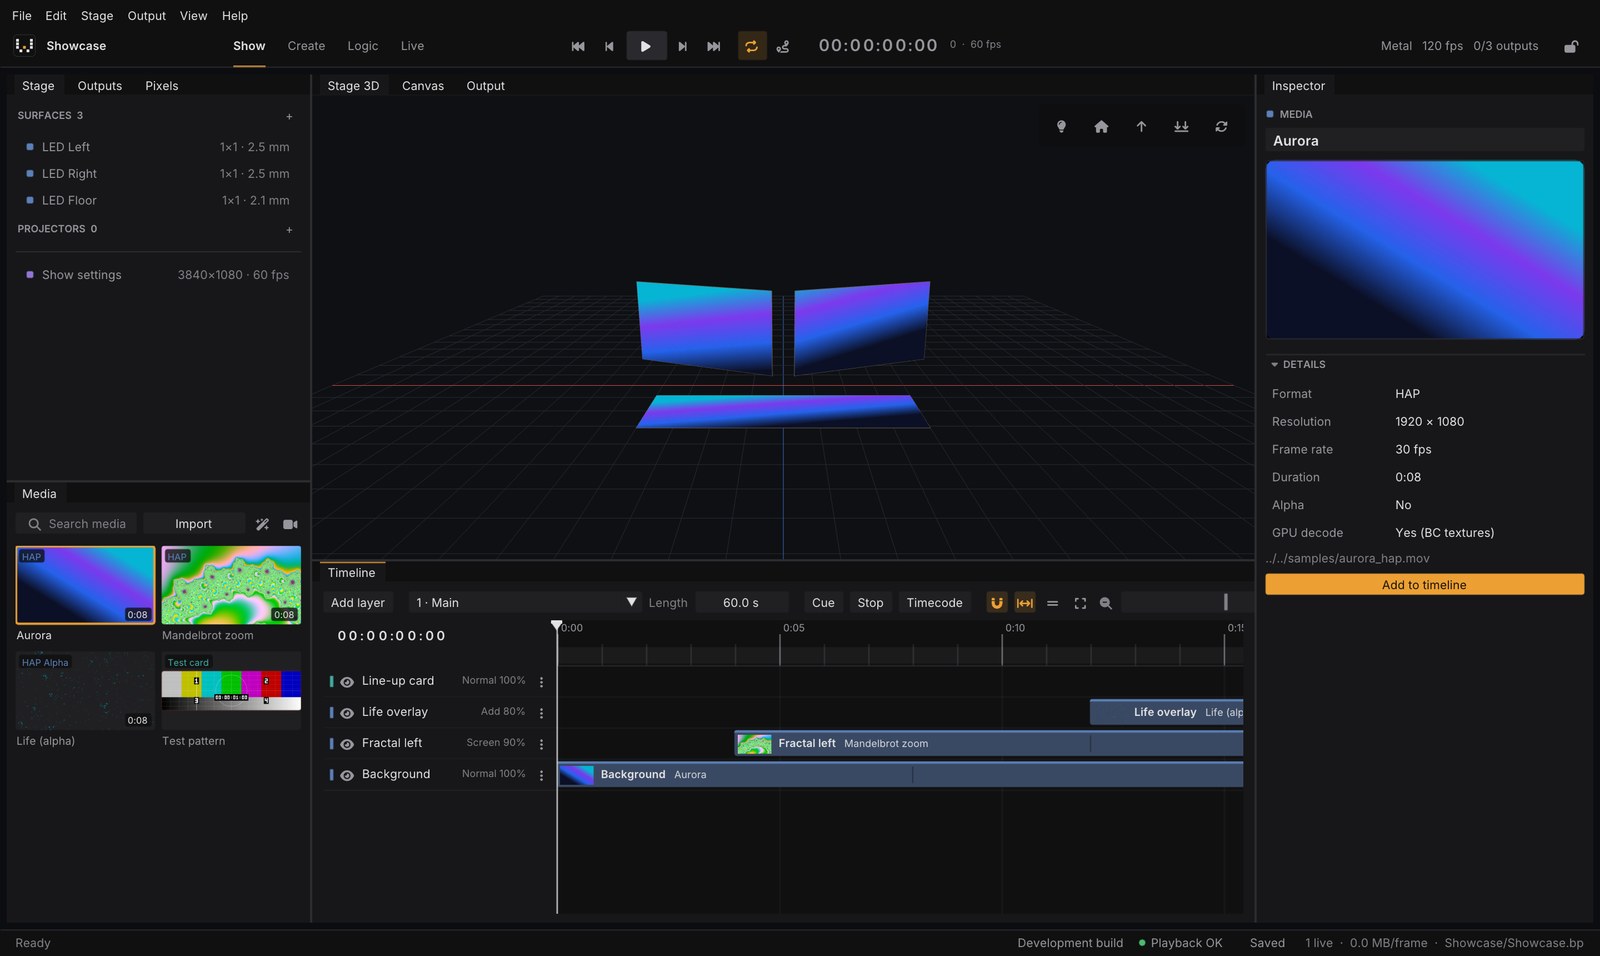
Click Import in the Media panel, press Ctrl+I, or simply drag files onto the window.
PixelWright only puts show-safe media on air: BPV (PixelWright’s own codec), the HAP family and still images. Their frames are GPU texture blocks, so playback is light on the CPU and has no decoder state to break.
Everything else (H.264, HEVC, ProRes…) is handled for you:
- The import shows “H.264 is not show-safe” (or the codec it found).
- Click To BPV to transcode it, or Skip. You can choose BPV (recommended) or HAP (compatible), and tick Always transcode media that is not show-safe to stop being asked.
- The transcode runs in the background with half of the CPU threads, so playback keeps its margin. The clip appears when the file is complete.
Also good to know:
- Image sequences (
render_0001.png…): select several frames or their folder and they come in as one clip, encoded at the show frame rate. - Colour: EXR, Display P3, Rec.2020 and HDR (phone video) are converted to Rec.709 on import, so nothing looks washed out.
- To convert ahead of time from a terminal:
pixelwright-encode input.mov output.bpv.
5. Put it on the timeline
Any of these creates a layer at the playhead:
- drag a clip from the Media panel to the timeline;
- double-click a clip in the Media panel;
- select a clip and click Add to timeline in the Inspector;
- click + Layer in the Timeline and choose what to add (next chapter).
6. Play
Press Space or the play button. Watch the result in Stage 3D (the screens light up with their content), in Canvas, or in Output.
Tip:
Ctrl+Soften. Saving is atomic (a power cut never leaves a broken show) and the previous 20 versions are kept inbackups/.